By Shannon Matson
ClickUp is the project management software we use to organize documents, track leads, create content, plan launches, hold weekly team meetings, and support our clients with their own “portal” or “dashboard” for updates and tasks.
Is it amazing? YES. Is it an itty bit overwhelming at first? Also yes.
Let me take you behind the scenes of how we structure Client Dashboards to help ease some of that feature-heavy confusion for you.
First – Why Dashboards?
Many online entrepreneurs use GDrive or Dubsado’s portal feature, which are good, but I find them to be a little clunky and restrictive. ClickUp Dashboards allow users to customize widgets and expand or contract the layout of the client’s view for mass clarity.
Take a look at the video below for an overview of features. I scroll through each block, add widgets, move sections, etc.
Let’s dive into each section:
1. Text Blocks
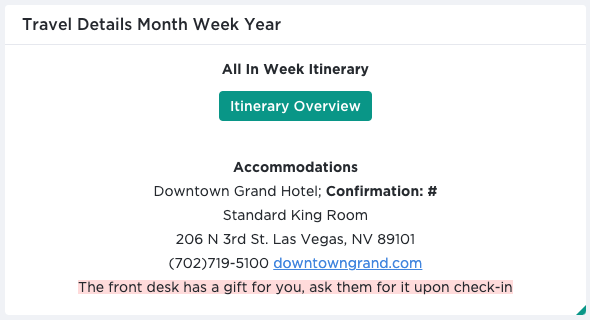
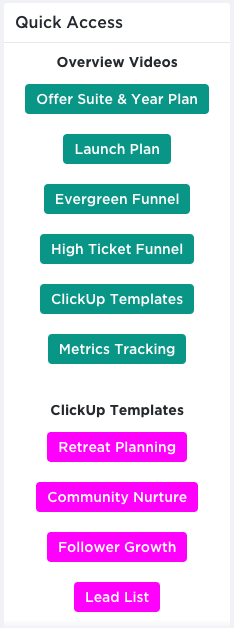
We utilize these to share documents, videos, ClickUp templates, travel details, support contacts, prep materials, and resources.

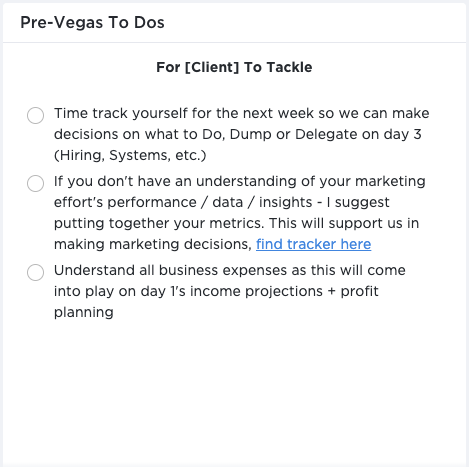
2. Checklists
You can choose to use the task lists instead (as shown towards the latter part of the overview video above). We chose checklists due to the easy strikethrough system once you click the circle. If the client has any questions or notes they’ll share them with me on Voxer. Alternatively, you can utilize a chat block from the “Add Widget” section.

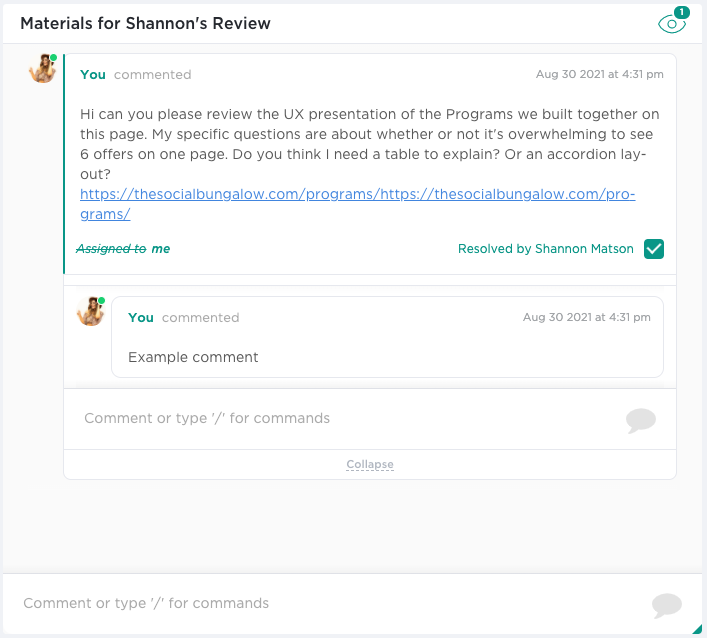
3. Chat Boxes & Buttons
We use this for material reviewal of client’s work. If you’re a Service Provider seeking feedback from your clients on the work YOU’VE done, I’d recommend sharing those assets in an open text box via a new button (also shown below) and seeking their comments / revisions in the chat box.


Based on the work you do and how you like to interact with clients, the layout options are next to endless – in a good way! We recommend starting with a basic layout that serves your current contract’s deliverables, and expanding in real time as the need arises with the client.
Now there is one caveat in all of this… Your client’s need to have a ClickUp account in order to get access to the Dashboard. This doesn’t mean they need to become a full-time user of ClickUp, but they do need to create a username and password to gain access to the Dashboard.
We utilize Dubsado for onboarding/offboarding. Upon signing contract and paying invoice, the next email includes access to the client’s ClickUp Dashboard to begin the prep work.
Questions? We’re here to help. Please feel free to DM me on Instagram @TheSocialBungalow.
Related Posts
Check This Out
The Goods is your weekly download of all things business scaling and magnetic marketing, from exclusive content by Shannon to incredible guest contributors. We’ve got what you need.
